Root Beer Ice Cream: A Nostalgic Twist on Your Favorite Treat
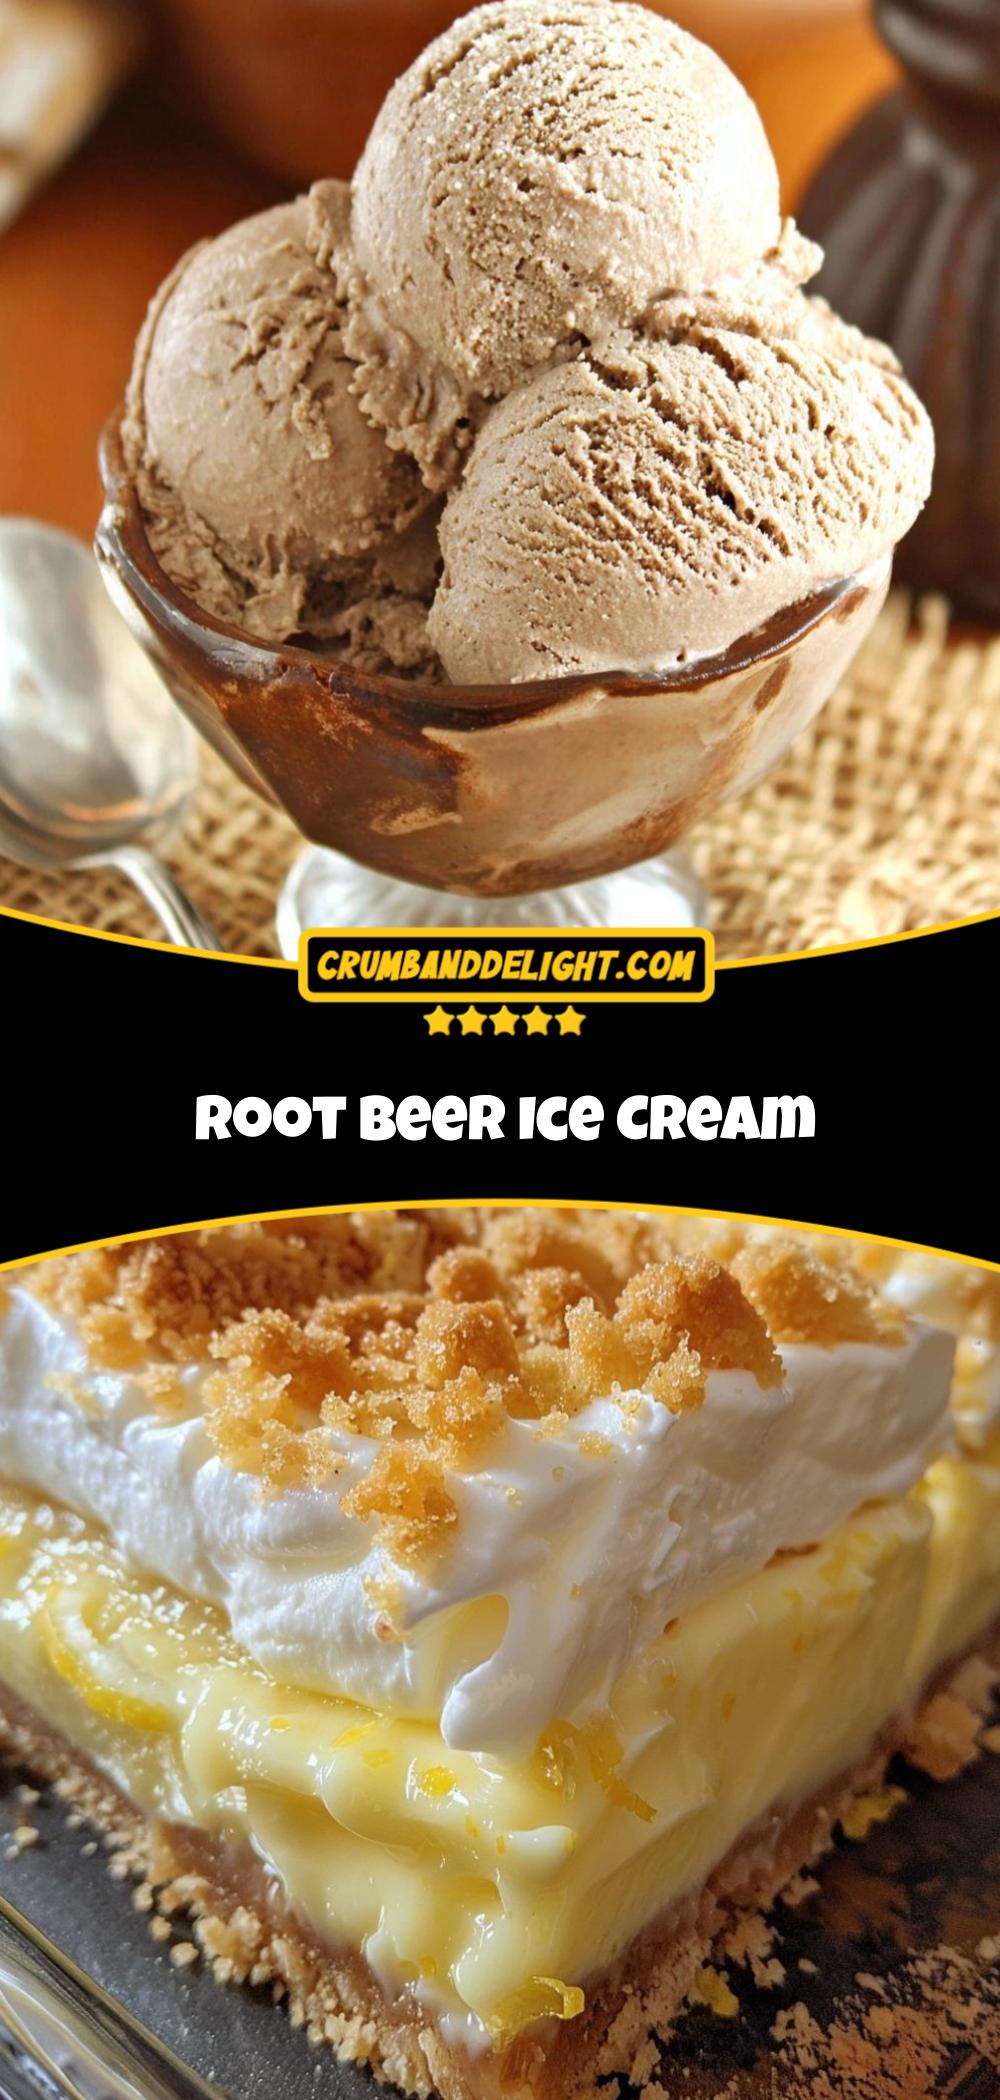
Imagine a spoonful of pure bliss that instantly transports you back to simpler times, evoking the warmth of summer days and the joyful fizz of a classic soda. That's precisely the magic of **root beer ice cream**. This unique dessert is a delightful symphony of rich, spiced root beer flavors infused into a velvety, creamy ice cream base, offering a sophisticated yet undeniably nostalgic twist on a beloved treat. It’s more than just a dessert; it's an experience, a journey for your taste buds that begins with the comforting familiar and ends with an unexpectedly delightful surprise.
The allure of **root beer ice cream** lies in its ability to marry two distinct comfort foods into one harmonious indulgence. The signature sassafras, vanilla, and wintergreen notes of root beer, often accompanied by hints of licorice, cinnamon, and nutmeg, lend themselves beautifully to the smooth, rich texture of homemade ice cream. While a root beer float is a classic for a reason, transforming the beverage itself into the ice cream elevates the experience, making every single scoop a concentrated burst of flavor and creamy perfection.
Crafting the Perfect Scoop: Ingredients and Essential Techniques
Creating exceptional **root beer ice cream** at home is a rewarding culinary adventure that hinges on quality ingredients and careful technique. The foundation of any great ice cream is its custard base, and for a flavor as distinctive as root beer, precision ensures the perfect canvas.
The Building Blocks: Ingredients for a Creamy Base
The heart of your **root beer ice cream** begins with a rich, full-fat dairy base. You'll typically want a generous blend of heavy cream and whole milk for optimum creaminess and mouthfeel. A common starting ratio that provides both richness and balance is
2 cups of heavy cream to
1 cup of whole milk.
Sweetness is key, often provided by granulated sugar, around
3/4 cup, which not only sweetens but also contributes to the ice cream's smooth texture by preventing it from freezing too solid. To achieve that signature silky consistency, egg yolks are indispensable.
2 large egg yolks, whisked until pale and slightly thickened, add richness and act as an emulsifier, making the ice cream incredibly smooth. A touch of pure vanilla extract enhances the overall flavor profile, complementing the root beer beautifully. For an extra touch of velvety texture and to aid in thickening, a cornstarch bloom (1 tablespoon cornstarch dissolved in a splash of milk or water) can be incorporated into the base.
Mastering the Custard: Key Preparation Techniques
The real artistry in making **root beer ice cream** comes with cooking the custard. This process, while seemingly intricate, is manageable with attention and patience.
1. **Combine and Heat:** Gently warm your cream, milk, sugar, and a pinch of salt in a heavy-bottomed saucepan over medium-low heat. The goal is to bring the mixture to a gentle simmer, allowing the sugar to dissolve completely and the flavors to begin mingling. Avoid a rolling boil, which can scorch the dairy.
2. **Tempering the Yolks:** This is perhaps the most crucial step. While the dairy mixture is heating, whisk your egg yolks thoroughly. Once the cream mixture is warm, slowly drizzle about a cup of the hot liquid into the whisked egg yolks, whisking constantly. This gradual heating of the yolks prevents them from scrambling. Once tempered, pour the warmed yolk mixture back into the saucepan with the remaining cream. This technique is fundamental for a smooth custard; for more in-depth guidance on perfecting this, consider consulting
Crafting Velvety Root Beer Ice Cream: Mastering Custard Techniques.
3. **Thickening the Custard:** Continue to cook the mixture over low to medium-low heat, stirring constantly with a spatula or wooden spoon, until it thickens enough to coat the back of the spoon. If using cornstarch, stir in the bloom just before this stage. This usually takes about 5-7 minutes. The consistency should be like a thin gravy, not a paste.
4. **Straining and Chilling:** Once thickened, immediately remove the custard from the heat. Strain it through a fine-mesh sieve into a clean bowl. This step is vital to remove any potential bits of cooked egg or undissolved solids, ensuring a perfectly smooth and luxurious texture. Now, the most important part: chill the custard thoroughly. It needs to be below 40°F (4°C) – ideally closer to freezing – before churning. This can take several hours in the refrigerator or about an hour in an ice bath. Proper chilling is essential for an efficient churn and a creamy final product.
The Root Beer Element: Extract vs. Reduction
The distinctive flavor of root beer is what makes this ice cream truly special. You have a couple of excellent options for incorporating it into your custard base, each with its own advantages.
Root Beer Extract
Using a high-quality root beer extract is the most straightforward method. Extracts are highly concentrated and deliver a consistent, potent flavor. It's usually added after the custard has cooked and cooled, allowing its delicate aromatic compounds to remain intact. Start with a conservative amount (e.g., 1-2 teaspoons for this base) and adjust to taste, as extracts can be very strong. Pure vanilla extract, added alongside the root beer extract, helps to round out the overall flavor profile.
Root Beer Reduction
For a deeper, more nuanced root beer flavor, consider using a root beer reduction. This involves simmering regular root beer (or even a craft root beer for specific notes) over low heat until it reduces by half or more, concentrating its sugars and flavors. A 1/2 cup of root beer reduction, added to the cooled custard, can impart a rich, complex aroma and taste that is truly unique. While it requires an extra step, the depth it adds is often worth the effort, especially for those who appreciate a more intense root beer experience. You might even use a combination: a reduction for foundational flavor and a touch of extract for a final "pop" of aroma.
Churning, Freezing, and Flavor Development
Once your custard base is thoroughly chilled, it's time for the magical transformation into ice cream.
The Churning Process
Ensure your ice cream machine's bowl is frozen solid, typically requiring at least 24 hours in the freezer. Pour the cold custard into the churning bowl and churn according to your machine's instructions. This usually takes anywhere from 20 to 30 minutes, during which time the custard will thicken and increase in volume, reaching a consistency similar to soft-serve ice cream. Churning incorporates air and breaks down ice crystals, resulting in that wonderfully smooth texture. Don't overchurn; stop once it reaches the desired soft-serve stage. This entire process of transforming liquid custard into a solid, scoopable treat is part of what makes
Homemade Root Beer Ice Cream: Creamy Custard & Bold Flavor so rewarding.
Freezing for Perfection
Once churned, transfer the soft ice cream to an airtight container. Press a piece of parchment paper or plastic wrap directly onto the surface of the ice cream to prevent ice crystals from forming. Freeze for at least 4-6 hours, or preferably overnight, until it reaches a firm, scoopable consistency. During this freezing period, the flavors will meld and deepen, and the ice cream will develop its final, satisfying texture. The patience required during this stage is key to enjoying the rich complexity of your homemade treat.
Serving Suggestions and Elevating the Experience
The moment arrives: your homemade **root beer ice cream** is ready to be enjoyed. Serving it thoughtfully can elevate the entire experience.
The Perfect Scoop and Garnish
To serve, allow the ice cream to soften slightly at room temperature for a few minutes if it's rock-hard. A warm scoop or knife will glide through, creating beautifully rounded portions. Present generous scoops in individual bowls, allowing the ice cream's amber swirls (if you've swirled in some root beer reduction post-churning) to catch the light.
Garnish options add visual appeal and extra layers of flavor. A light dusting of cinnamon sugar can enhance the spice notes in the root beer. A fresh mint sprig offers a vibrant pop of color and aroma. For a textural contrast, consider candied roots (like candied ginger) or even a drizzle of cold root beer reduction, which clings to the edges and intensifies the root beer aroma with each bite. For a more classic feel, a dollop of whipped cream and a maraschino cherry can transform it into an instant retro dessert.
Creative Pairings for a Memorable Treat
While delicious on its own, **root beer ice cream** also shines when paired with other treats. For a truly indulgent experience, use it to make the ultimate root beer float – the homemade ice cream will take it to another level entirely. For those who enjoy contrasting textures and flavors, consider serving a scoop alongside:
- Soft pretzel bites, offering a salty counterpoint to the sweet.
- Spicy ginger cookies, whose warmth beautifully complements the root beer's spice profile.
- A slice of pear tart, where the fruit's subtle sweetness and texture create an elegant dessert.
- A warm brownie or chocolate lava cake, providing a rich, decadent backdrop.
The possibilities are endless, inviting you to experiment and discover your favorite combinations.
Root beer ice cream is truly a testament to how simple ingredients, combined with careful technique and a dash of creativity, can produce an extraordinary dessert. It's a journey back to childhood, reimagined with gourmet flair, promising a deeply satisfying and unique flavor experience that will charm both the young and the young at heart.